
Recall Notes
-
This is a blog written by a mastering engineer about mastering, but it is not a “how to master” blog. There are other places on the internet for that.
Mastering music has been my full time occupation for over 20 years, and during that time I’ve noticed some of the same ideas and conversations coming up repeatedly. At some point I decided to keep an informal journal of some of these ruminations, sometimes to clarify my thinking about them, and sometimes just because they wouldn’t go away until written down!
Each entry is like a little note-to-self. Things to remember or build upon as the months and years have passed.
And though I didn’t originally intend to make any of these notes public, I decided to share them here because I personally really like reading what other professionals have to say about their craft. So if you’re a mastering engineer or mixer, please write and publish your version of this blog - I would read that!
- J. LaPointe (August 2025)
Too much gear - a self check mechanism
A semi-serious rule of thumb: if it takes longer to log the notes than print the track then I'm probably using too much gear.
Analog?
If you’re making the effort to mix to analog tape you want to make sure your mastering house has made excellent tape playback a priority, and is working with tape frequently.
Last thing you want is for your tape to be the first thing on a dusty machine that hasn’t been turned on in 6 months.
A Starting Point
Upon first listen to a new track, is there a part of the spectrum that sounds great already, and you know you won’t have to eq there?
Then turn up the track so that area is sitting at the right level, and eq the rest of the track in around it.
This becomes second nature and subconscious after a while.
Match levels, then compare (or don’t)
A level matched A/B comparison (source vs master) is the only way to accurately judge your work. Otherwise it’s too easy to be fooled by volume. Is it really better, or just louder?
Exception: Sometimes the source is so far off base that referring back to it can actually be disorienting.
Simplify Everything
It’s surprising how much you can accomplish with one equalizer and a gain stage.
Newton’s Third Law of Equalization
“For every frequency there is an equal and opposite frequency.”
Speaking perceptually of course. And in no way a hard-and-fast rule. But it is occasionally useful to think this way.
The Process in a Nutshell
Draw on a lifetime of music listening to create a fixed internal point of reference for what makes for good sound and engaging musicality across all types of music. Play new track, compare to internal reference. Adjust track if needed.
Simple.
Getting there takes literally years.
Song and performance over production
Useful rule of thumb - the song and performance must be better than the production.
If the production outdoes the song the mystery is revealed.
The Best Way to Emulate Analog
Use no analog emulation plugins.
Start by thinking about how things were recorded in the analog-only past. Then consider that in the best tape machines of that era, output sounded very, very close to input. So use converters where output sounds very, very close to input, and disregard the idea that the magic is in the tape.
Get your sounds 100% right on the way into the box using an appropriate analog front end (preamp, compressor and eq if needed).
Mix simply using LCR panning and faders only.
Leave off the plugins. Every plugin you add is one step further away from the analog sound you have captured.
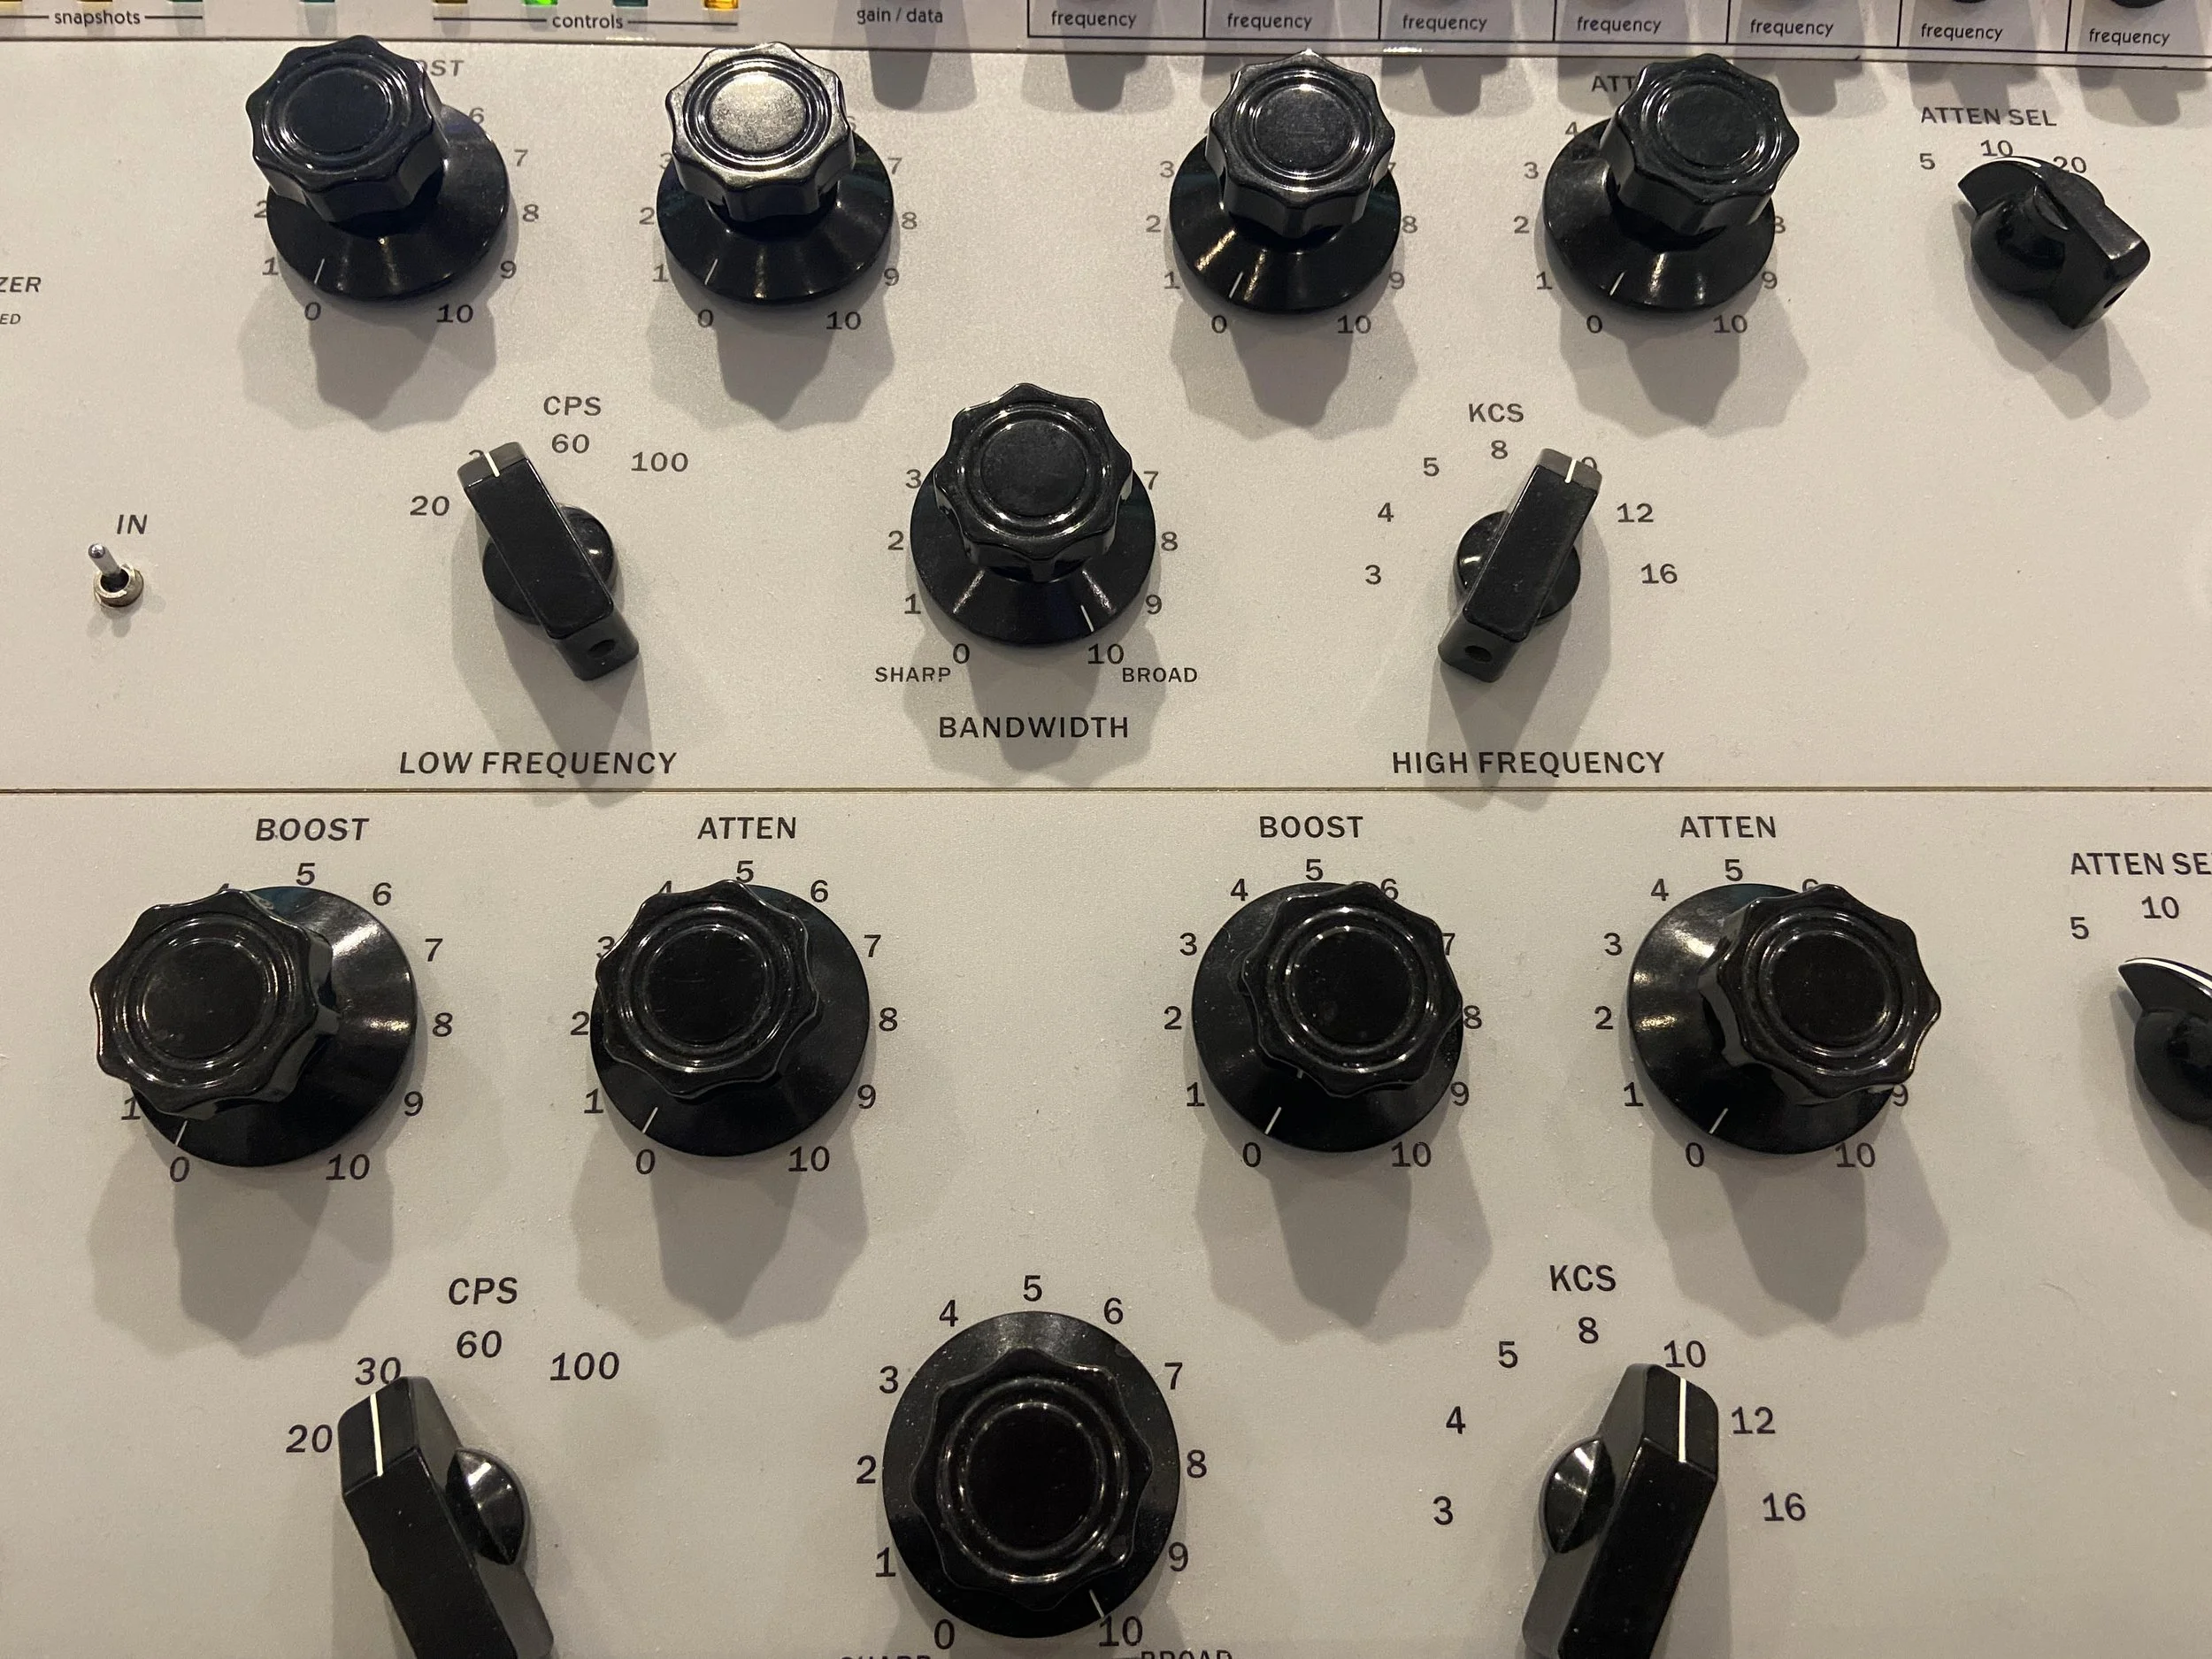
Two Techniques for Cutting High End
Cutting high end is one of the more difficult things to do in a mastering context. The ear naturally perceives more high end as greater detail, so cutting highs feels like losing detail, and makes A/B comparisons difficult.
1) Make a broad and deep high frequency cut, way more than needed so the track sounds really dull. Give your ears a few seconds to adjust. Or even better, listen for 10-20 seconds, and turn off the monitors for another 10-20 seconds. Play the track again and slowly bring the highs back in, adjusting the width of the cut (if needed) as you do. Settle at the point where the highs now sound sufficiently bright and clear.
2) Make a high frequency cut normally, but do it with the monitors turned down a fair bit. 10db or so down usually works for me.